Search Products
Shopping Cart
LIMITED TIME OFFER

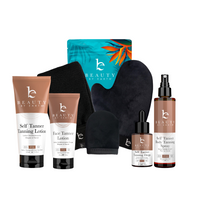
Self Tanner Kabuki Brush Set (DEAL)
$30.98$21.59

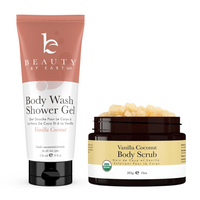
Clean & Clear Bundle (DEAL)
$48.98$31.89
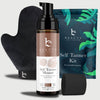
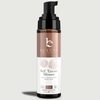
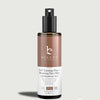
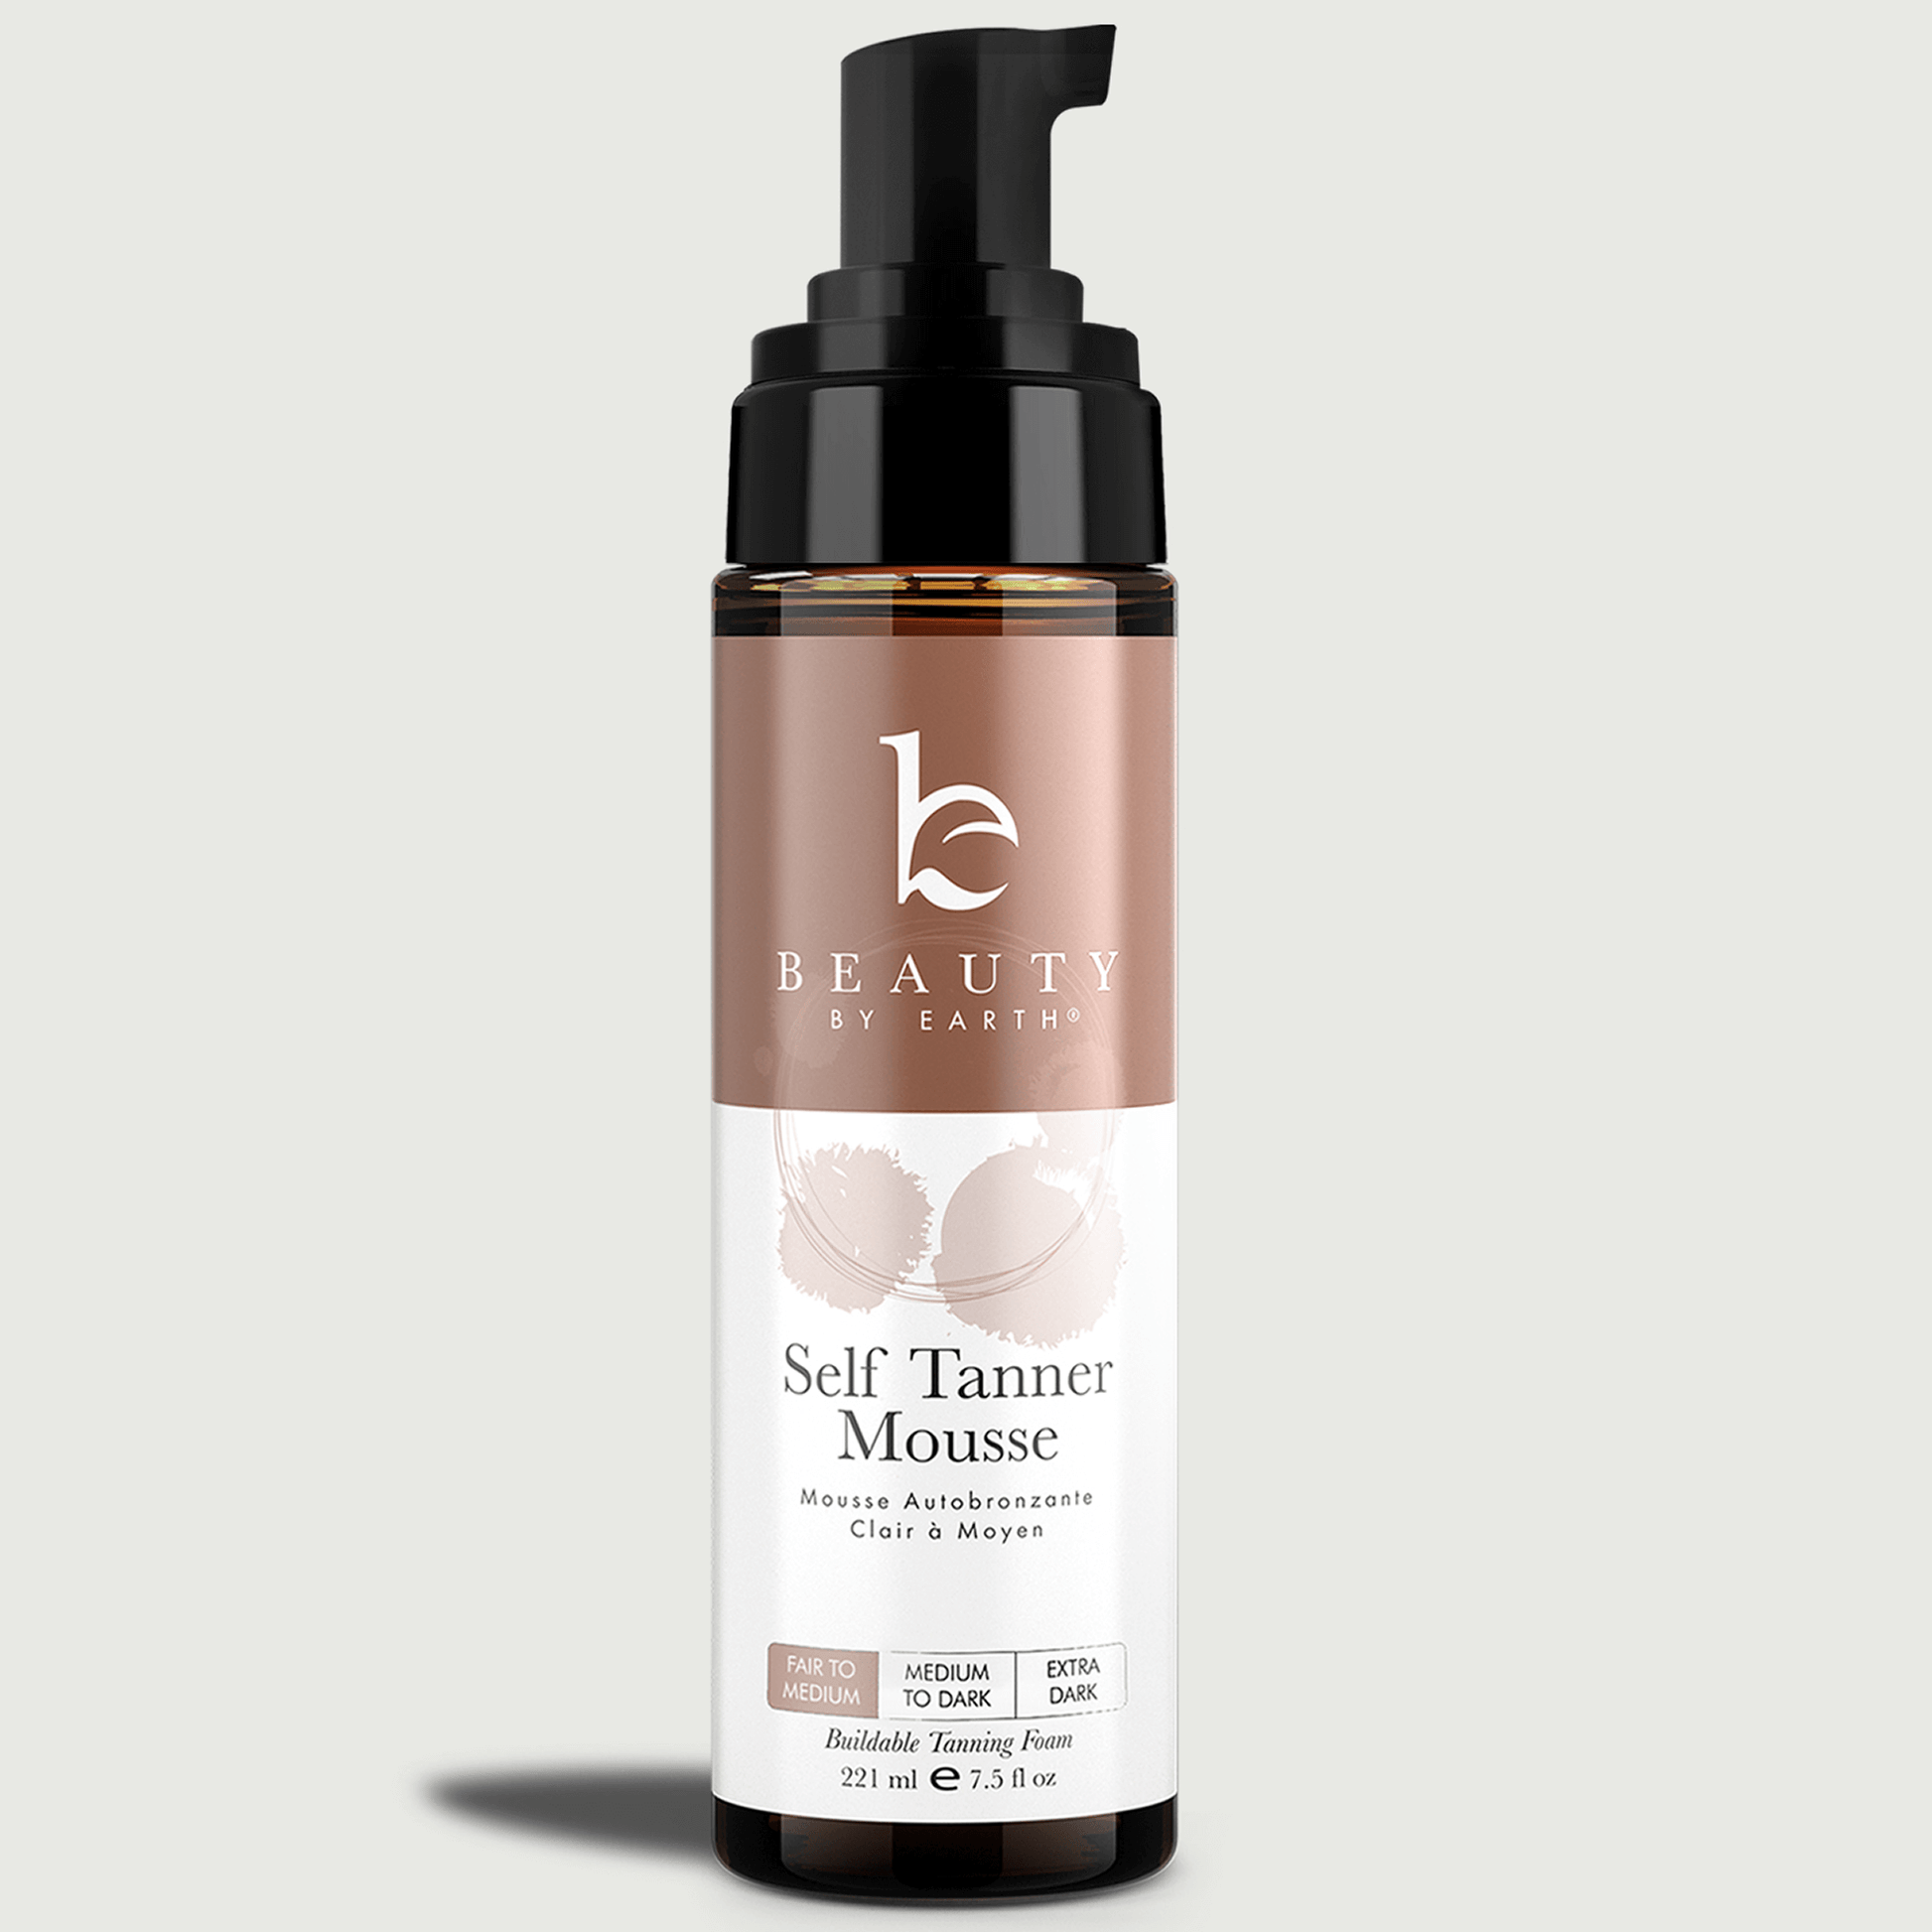
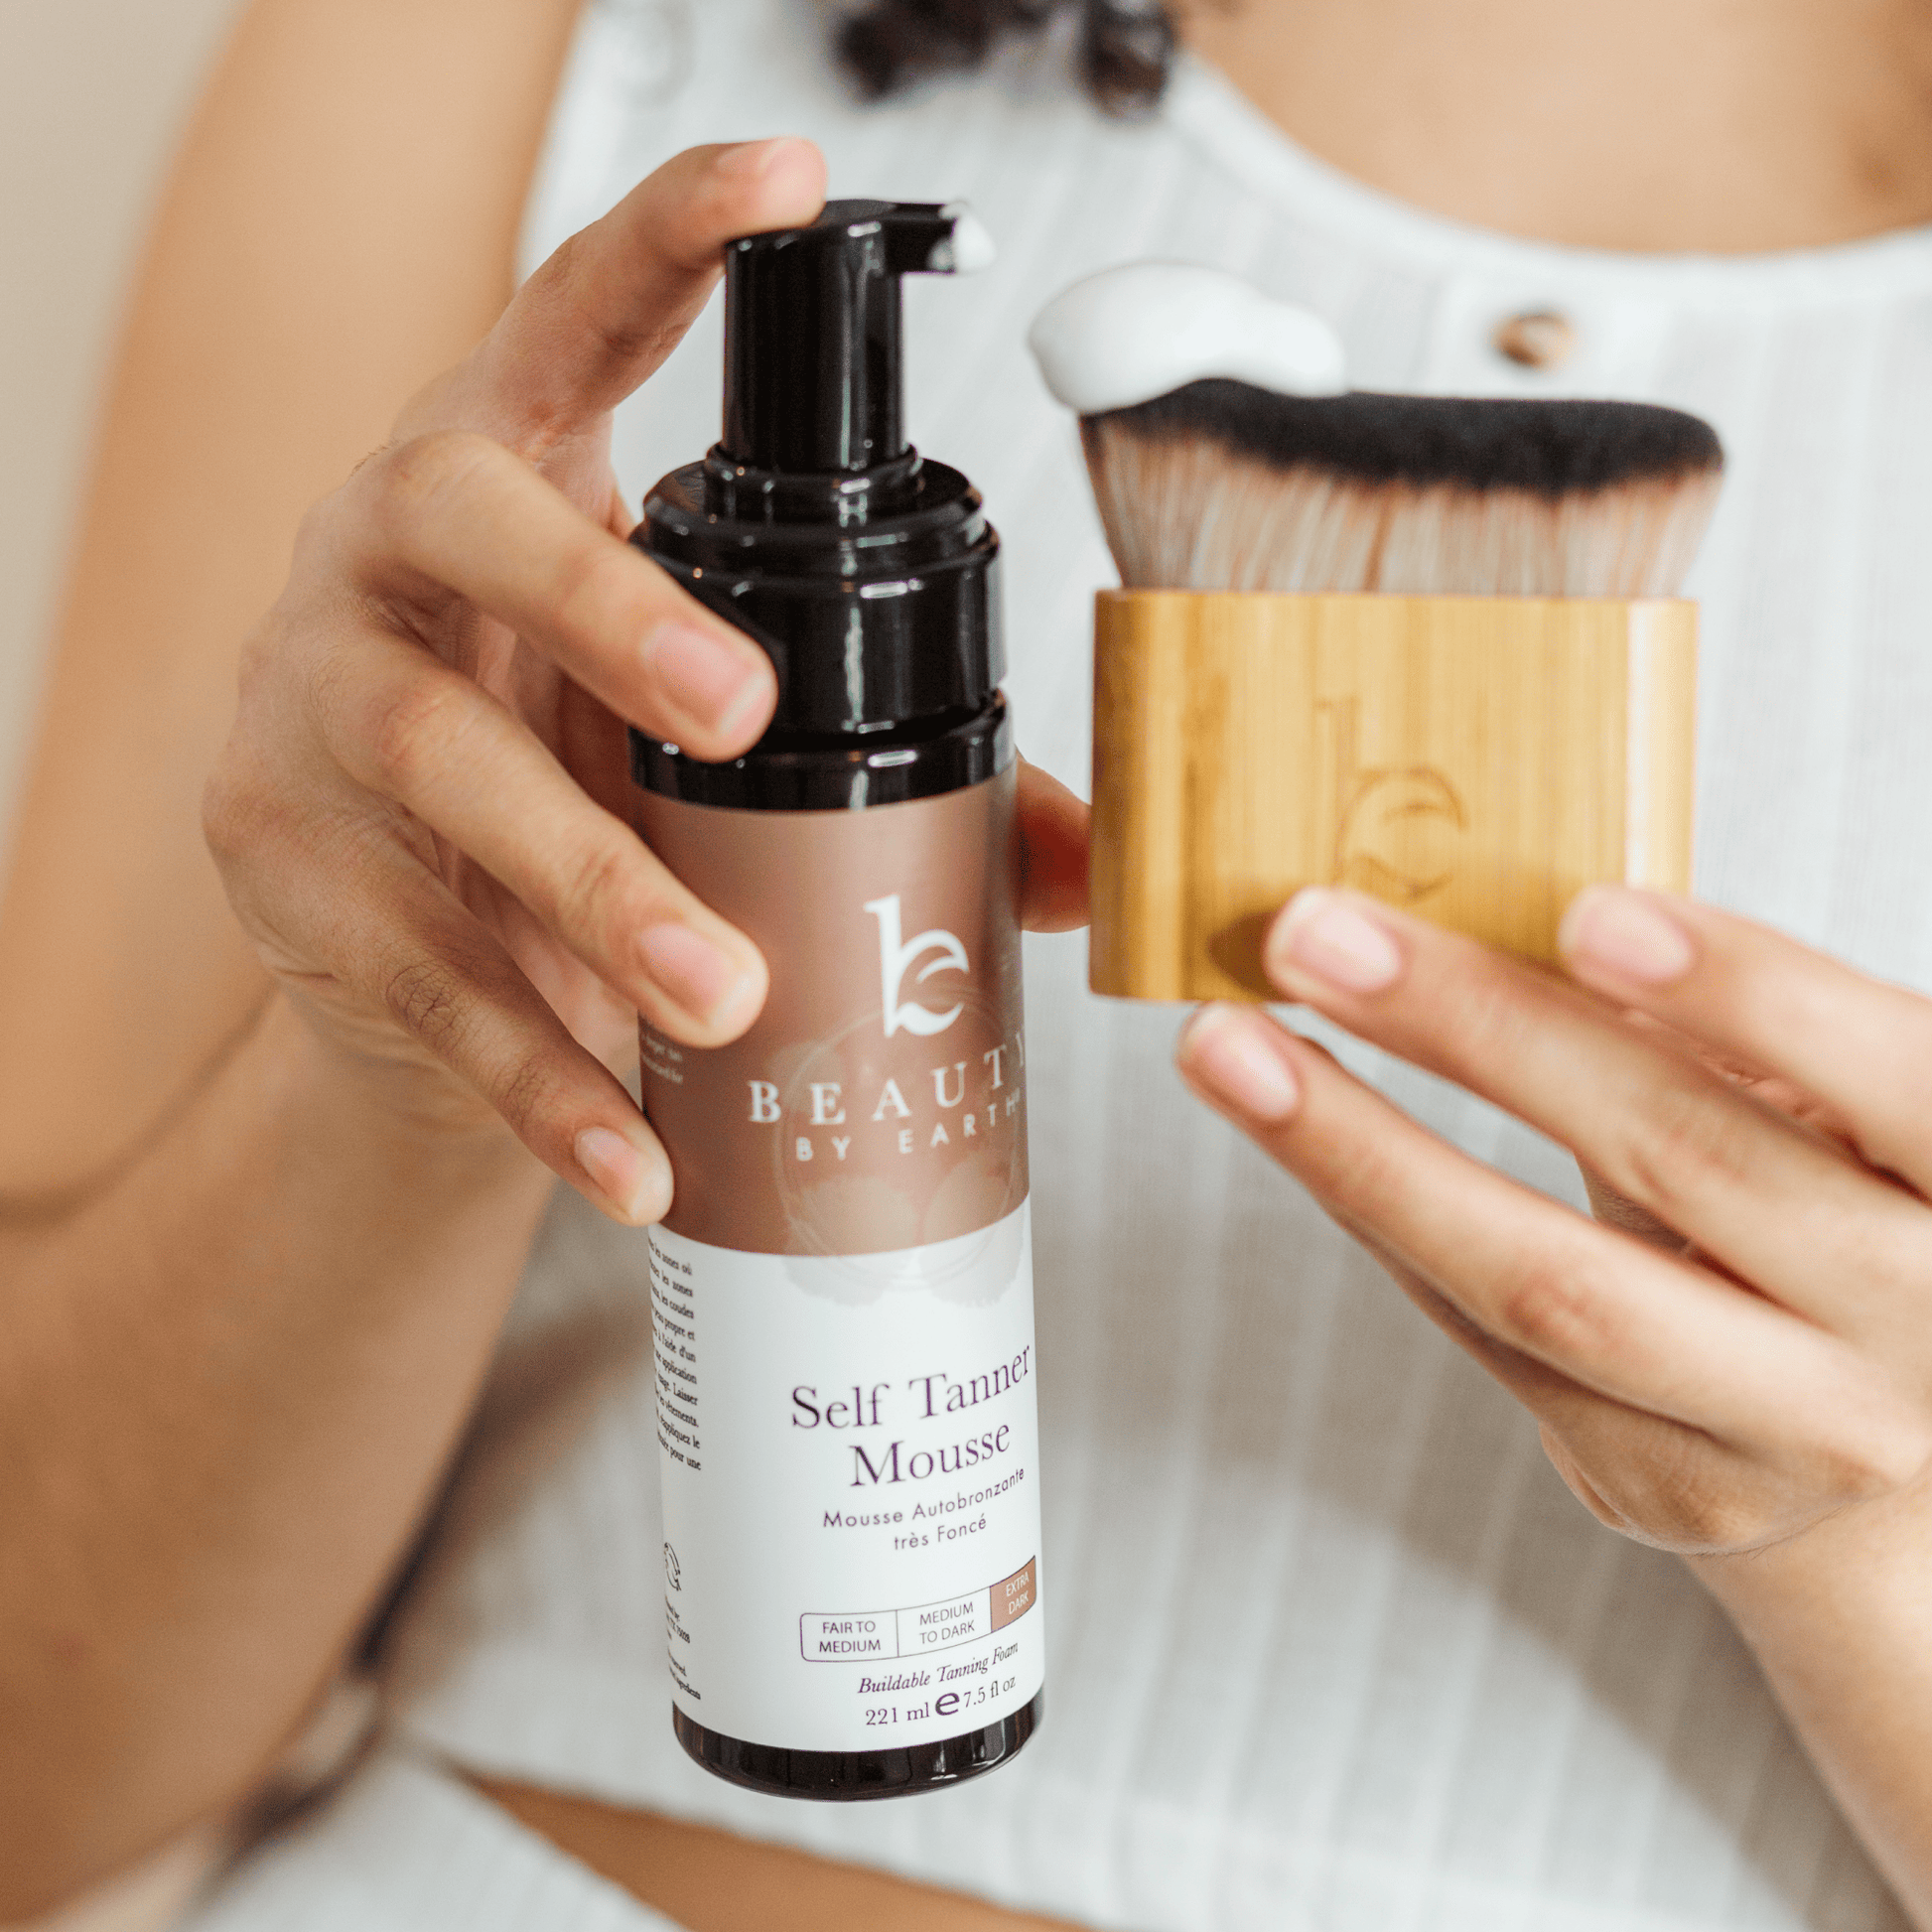
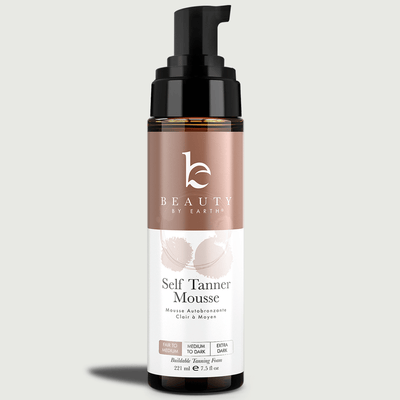
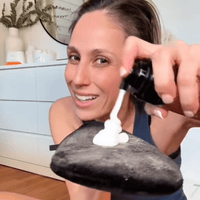
Self Tanner Body Mousse
Shade: Fair to Medium
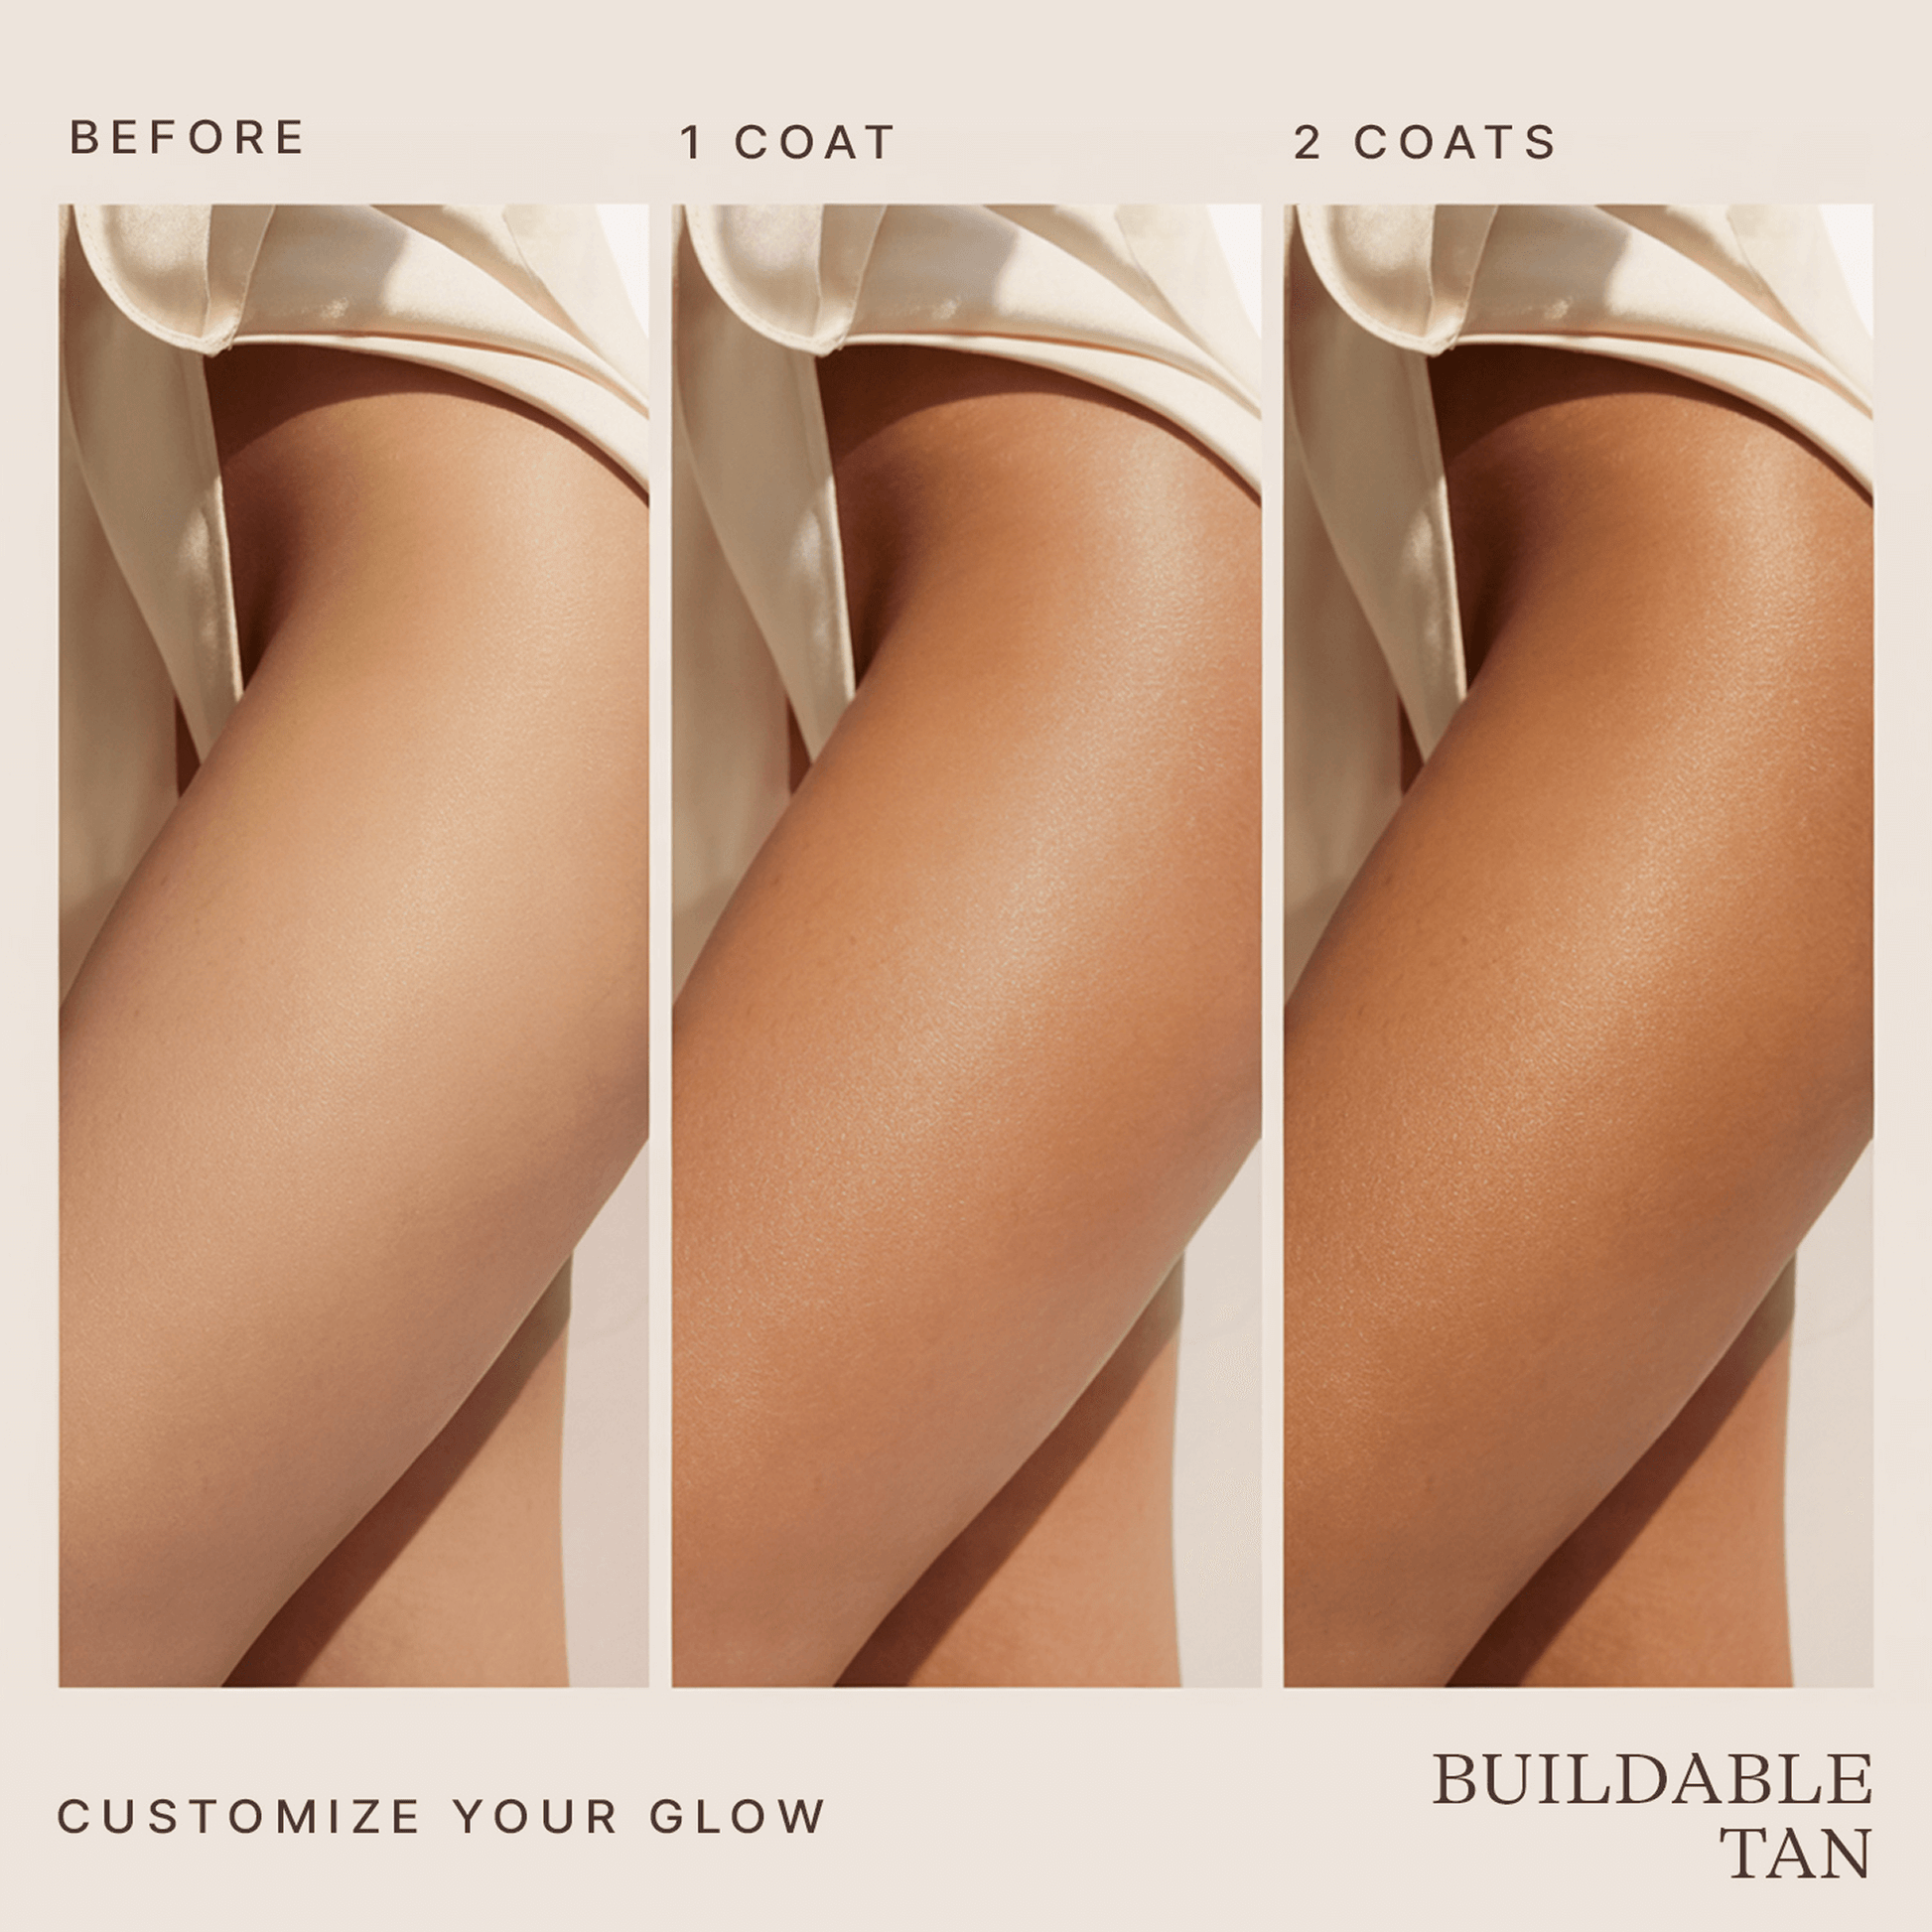
Effortless, radiant, and meticulously crafted—our self tanner mousse is more than just a tan; it’s a skin-first ritual. Designed to deliver stunning, sun-kissed color, it nourishes, refines, and restores while it works.
- Precision-crafted with nature’s most powerful botanicals, each ingredient is chosen to enhance your glow while respecting your skin’s delicate balance.
- Formulated without compromise—free from anything that doesn’t serve your skin.
- A weightless, fast-absorbing mousse that glides on effortlessly, drying in seconds—never sticky.
- Developed to work in harmony with your skin’s natural barrier, delivering long-lasting hydration and radiance.
Potent Botanicals
-
Witch Hazel—A refining elixir that tones and purifies, leaving skin balanced and refreshed.
-
Matricaria Flower—A botanical powerhouse that soothes, softens, and enhances your skin’s natural radiance.
- Aloe Vera—A cooling veil of hydration that plumps and replenishes.
No orange. No streaks. No unpleasant scent. Just pure, buildable, effortless color. Indulge in your most luxurious glow yet.
Great question! The light-medium self tanners are perfect for people with pink or cool undertones, fair skin, or those looking for a very subtle tan. The medium-dark self tanners are perfect for those with neutral, olive, or warm undertones or people looking for a deeper tan. As always our dye free self tanners can be used by any skin tone, you’ll just need to pick your level of tan and which version works best with your gorgeous undertones to create your ideal tan!
(Note: For reference, if you’re an avid Beauty By Earth fan, our original self tanner lotion is considered medium-dark. So if this tanner worked great for you, so will our other medium-dark varieties!)
The active ingredient in our self tanner is DHA, a sugar derivative that gives the top layer of the skin a bronzed glow. Non-GMO and overflowing with plant-based goodness. It’s backed up by a carefully selected combination of supporting ingredients, including organic aloe vera leaf juice (for luscious hydration), organic shea butter (for maximum moisturization), and organic pomegranate and cranberry extract (because who doesn’t love a bit of fruitiness in their self tanner?).
We can’t pinpoint the exact number of days – that will vary based on your application method, skin type, and how often you reapply. Many of our customers who have left self tanner reviews report that their tan lasted 5-7 days.
While its smooth + foamy texture easily glides onto the skin, if you feel dry or tacky after application apply lotion to moisturize the skin.
Step One: Do Everything Else
There are a lot of things that can mess with your self tanner if you don’t do them first. Painting your nails, coloring your hair, and shaving your legs can all remove the tanner before it has time to do its work, so make sure you get these tasks done beforehand.
…but not too close beforehand. Before I knew how to apply self tanner I didn’t realize that it’s not a great idea to shave right before you use it. I ended up with all of my pores showing up as little orange dots. Not very classy. I definitely recommend waiting several hours after you shave before applying any self tanner.
Step Two: Exfoliate
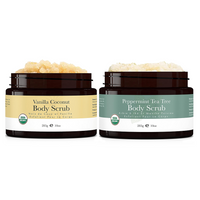
Self tanner has a way of sinking in to dry skin and creating weird little dark patches. You can make sure you skip this problem by exfoliating your skin before applying self tanner. Use a natural exfoliating scrub to slough off any flakes, paying special attention to your knees, elbows, ankles, and other rough areas. Use a gentle exfoliator to make sure your face is clear as well.
Step Three: Start From the Bottom
If you start by applying self tanner mousse to your shoulders and torso, you may end up with some weird streaks when you bend over to do your legs. Make sure you get a nice, even tan by starting from the bottom and working up. Remember, our self tanner mousse tends to tan darker than our self tanner lotions. So don't linger as you apply. An even, steady pace is best. And if you get too much or make a mistake, wash off immediately, as this tanner also sets faster than our lotion variety.
Step Four: Use Circles
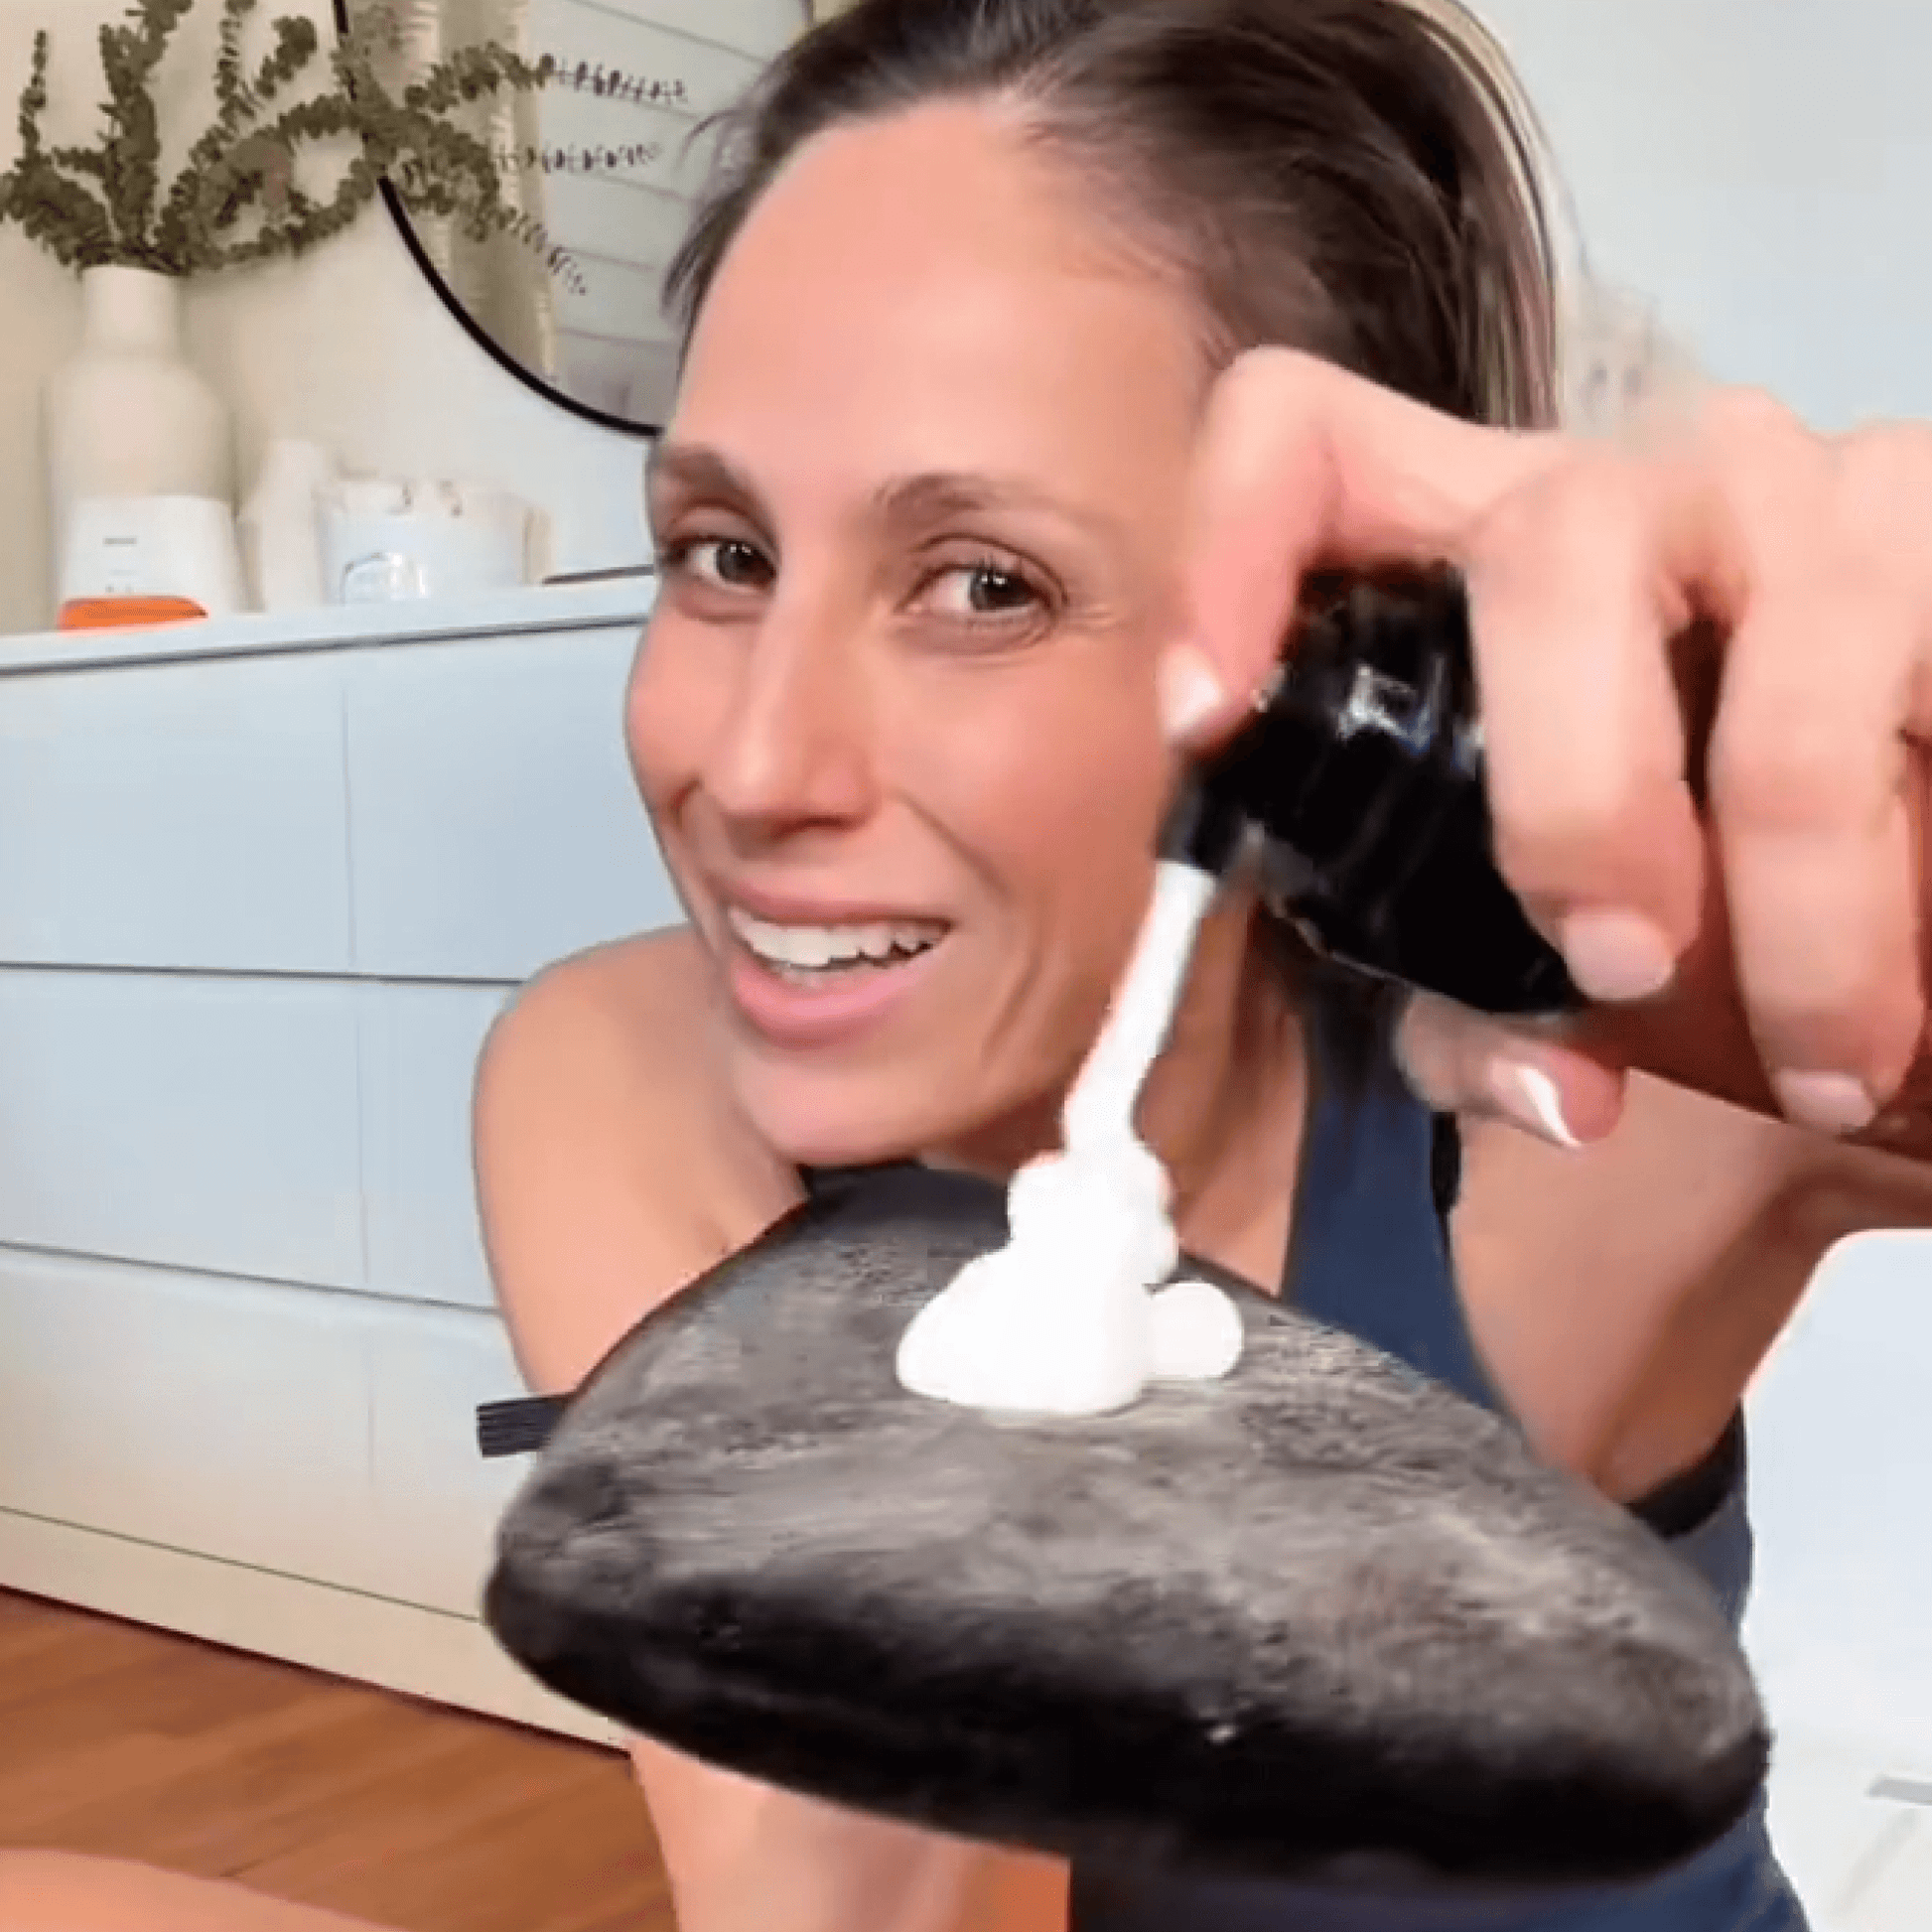
Pump a small amount of self tanner (about 1 pump) into a clean hand. If you prefer, you can wear latex gloves or use a tanning application mitt. Work the lotion into your skin using a circular motion. I usually apply tanner to my legs, arms, torso, and face, being careful to avoid sensitive areas like my eyes.
Step Five: Tread Carefully
Be especially cautious when applying self tanner to areas where skin tends to be loose and dry. This includes elbows, knees, and the areas around your nose and top lip. The skin in these areas tends to pick up more color than the surrounding skin, making it easy to end up with dark spots.
It is always a good idea to moisturize these types of areas prior to applying self tanner so you get a more even look. It will also help ensure these areas don’t come out darker than everywhere else.
Step Six: Wash Up
If you decided not to use gloves to apply your self tanner, wash your hands immediately afterwards. This will keep you from ending up with off-color palms. If you end up with streaks or splotches, don’t fear – rub the area with half a lemon then buff it away with a damp towel. It’ll be like it never happened.
Step Seven: Repeat as Needed
You should reach your desired color within six hours. If you don’t, just reapply the following day. I usually end up reapplying every 4-7 days to keep my color consistent, but that number may vary based on what works best for you.
Step Eight: Don’t Forget Sunscreen – Self tanner does not protect against UV radiation. If you plan to spend any time in the sun after using a self tanner, be sure to apply sunscreen.
Uh-uh, no way. We never use parabens, phthalates, sulfates, artificial fragrances, or any other junk that has no business getting near your skin. And that rule applies to all our products, not just our self tanner mousse. You can find a complete list of ingredients here:
Self Tanner Mousse
Ingredients: Water (Aqua), Dihydroxyacetone (DHA), Vegetable Glycerin, Sodium Hyaluronate, Decyl Glucoside, Cocamidopropylamine Oxide, Panthenol, *Ilex Paraguariensis (Yerba Mate) Leaf Extract, *Vitis Vinifera (Grape) Seed Extract, *Glycyrrhiza Glabra (Licorice) Root Extract, *Chamomilla Recutita (Matricaria) Flower Extract, *Rosmarinus (Rosemary) Leaf Officinalis Extract, *Pinus Strobus (Pine) Bark Extract, *Hamamelis Virginiana (Witch Hazel) Extract, *Yucca Schidigera Root Extract, Vanilla Planifolia Fruit Essential Oil, Citrus Aurantium Dulcis (Orange) Flower Essential Oil, Farnesol (and) Linalool, Radish Root Ferment Filtrate. *Certified Organic Ingredients
Any self tanner will leave streaks if it’s not used correctly, but with good technique our self tanner is primed to give you an even glow. If you really want great results, our spa-quality self tanner applicator mitts are your best bet.
Absolutely, but if you’d rather, try out our natural Face Self Tanner—specially formulated for the unique needs of your face. We recommend using a face moisturizer first and then applying the self tanner just as you would a moisturizer. Get all the way to your hairline, your neck and ears too.
Our self tanner can provide great color, but it won’t protect you from the sun as it does not contain SPF ingredients. Make sure to keep up with your sunscreen routine no matter how often you use our tanner.
We sure do! Find out more on our wholesale info page or drop us a line at [email protected] and we’ll get you taken care of.
Absolutely. Self tanning is a much safer alternative to spending time in the sun or in tanning beds. Exposure to UVA and UVB radiation can cause premature aging, including age spots, fine lines, wrinkles, freckles, and more. With enough time it can leave your skin looking tough and leathery. And don’t even get us started on the cancer risk… No way around it – self tanning with a natural tanner is the best way to go.
Our self tanner is filled with natural ingredients that are gentle on sensitive skin. However, with any new product, it’s always a good idea to do a test patch before using it on larger areas. Take a look through our self tanner reviews to find out how other customers with sensitive skin reacted – the response has been overwhelmingly positive.
As often as needed! Keep an eye on your tan, and when it starts to fade go ahead and reapply. Most customers find that their tan lasts about 7 days before fading, but if you notice a difference sooner, there’s no reason not to reapply.
Take the time to apply it right – exfoliate first, be generous with the amount you use, and use a self tanning mitt. We find that we can extend the life of our tan by sticking to warm (not hot) showers and by moisturizing daily.
Use a loofah, exfoliating pad, or a body scrub to gently get rid of dead skin cells – our self tanning application kit will give you all the tools you need for a perfect tan. This will help make sure your tan lasts as long as possible. It’s also a good idea to paint your nails before applying your tanner – unless you like orange-y nails, that is. Give your feet a little moisturizing love beforehand to help make sure they don’t end up darker than your body. Finally, wait a day or two after shaving before using our self tanner. If you apply to newly shaved skin, all of your pores will show up as little orange dots.
When you’re ready, apply a thin layer of self tanner mousse evenly over your legs, arms, and torso. Be careful when working on loose areas of skin (such as the elbows and knees). These areas are more absorbent, so it’s easy to overdo it and end up with dark spots. Using our tanning mitts can help you get a more even tan, and will prevent colored palms. If you decide not to wear mitts, wash your hands immediately after tanning!
Your skin should reach your desired color within 4-6 hours. If it doesn’t, reapply the following day. We find that reapplying every 4-5 days is best for maintaining color, but do what works best for you. Enjoy your sunny, golden skin!
WITCH HAZEL (Hamamelis Virginiana)
Relieves Inflammation and skin irritation, fights acne, wards off infections and protects against skin damage.
VANILLA (Vanilla Planifolia)
Vanilla is filled with anti-inflammatory agents so it works to soothe the skin and help treat inflammatory acne. It has anti-aging properties as well so it keeps your skin young and beautiful! Vanilla helps skin infections with their healing process and overall promotes healthy skin!
GRAPE SEED EXTRACT (Vitis Vinifera)
This organic ingredient will help your skin bounce back, every time. Thanks to its high amount of antioxidants and omega chain fatty acids, grapeseed oil helps to maintain the skin’s moisture levels and is proven to make it more elastic. Moreover, it also helps your precious skin stay free of breakouts and blemishes. We especially love how grape seed oil also protects skin against sun damage, and how well it complements the use of Vitamin E.
Results Don't Lie.
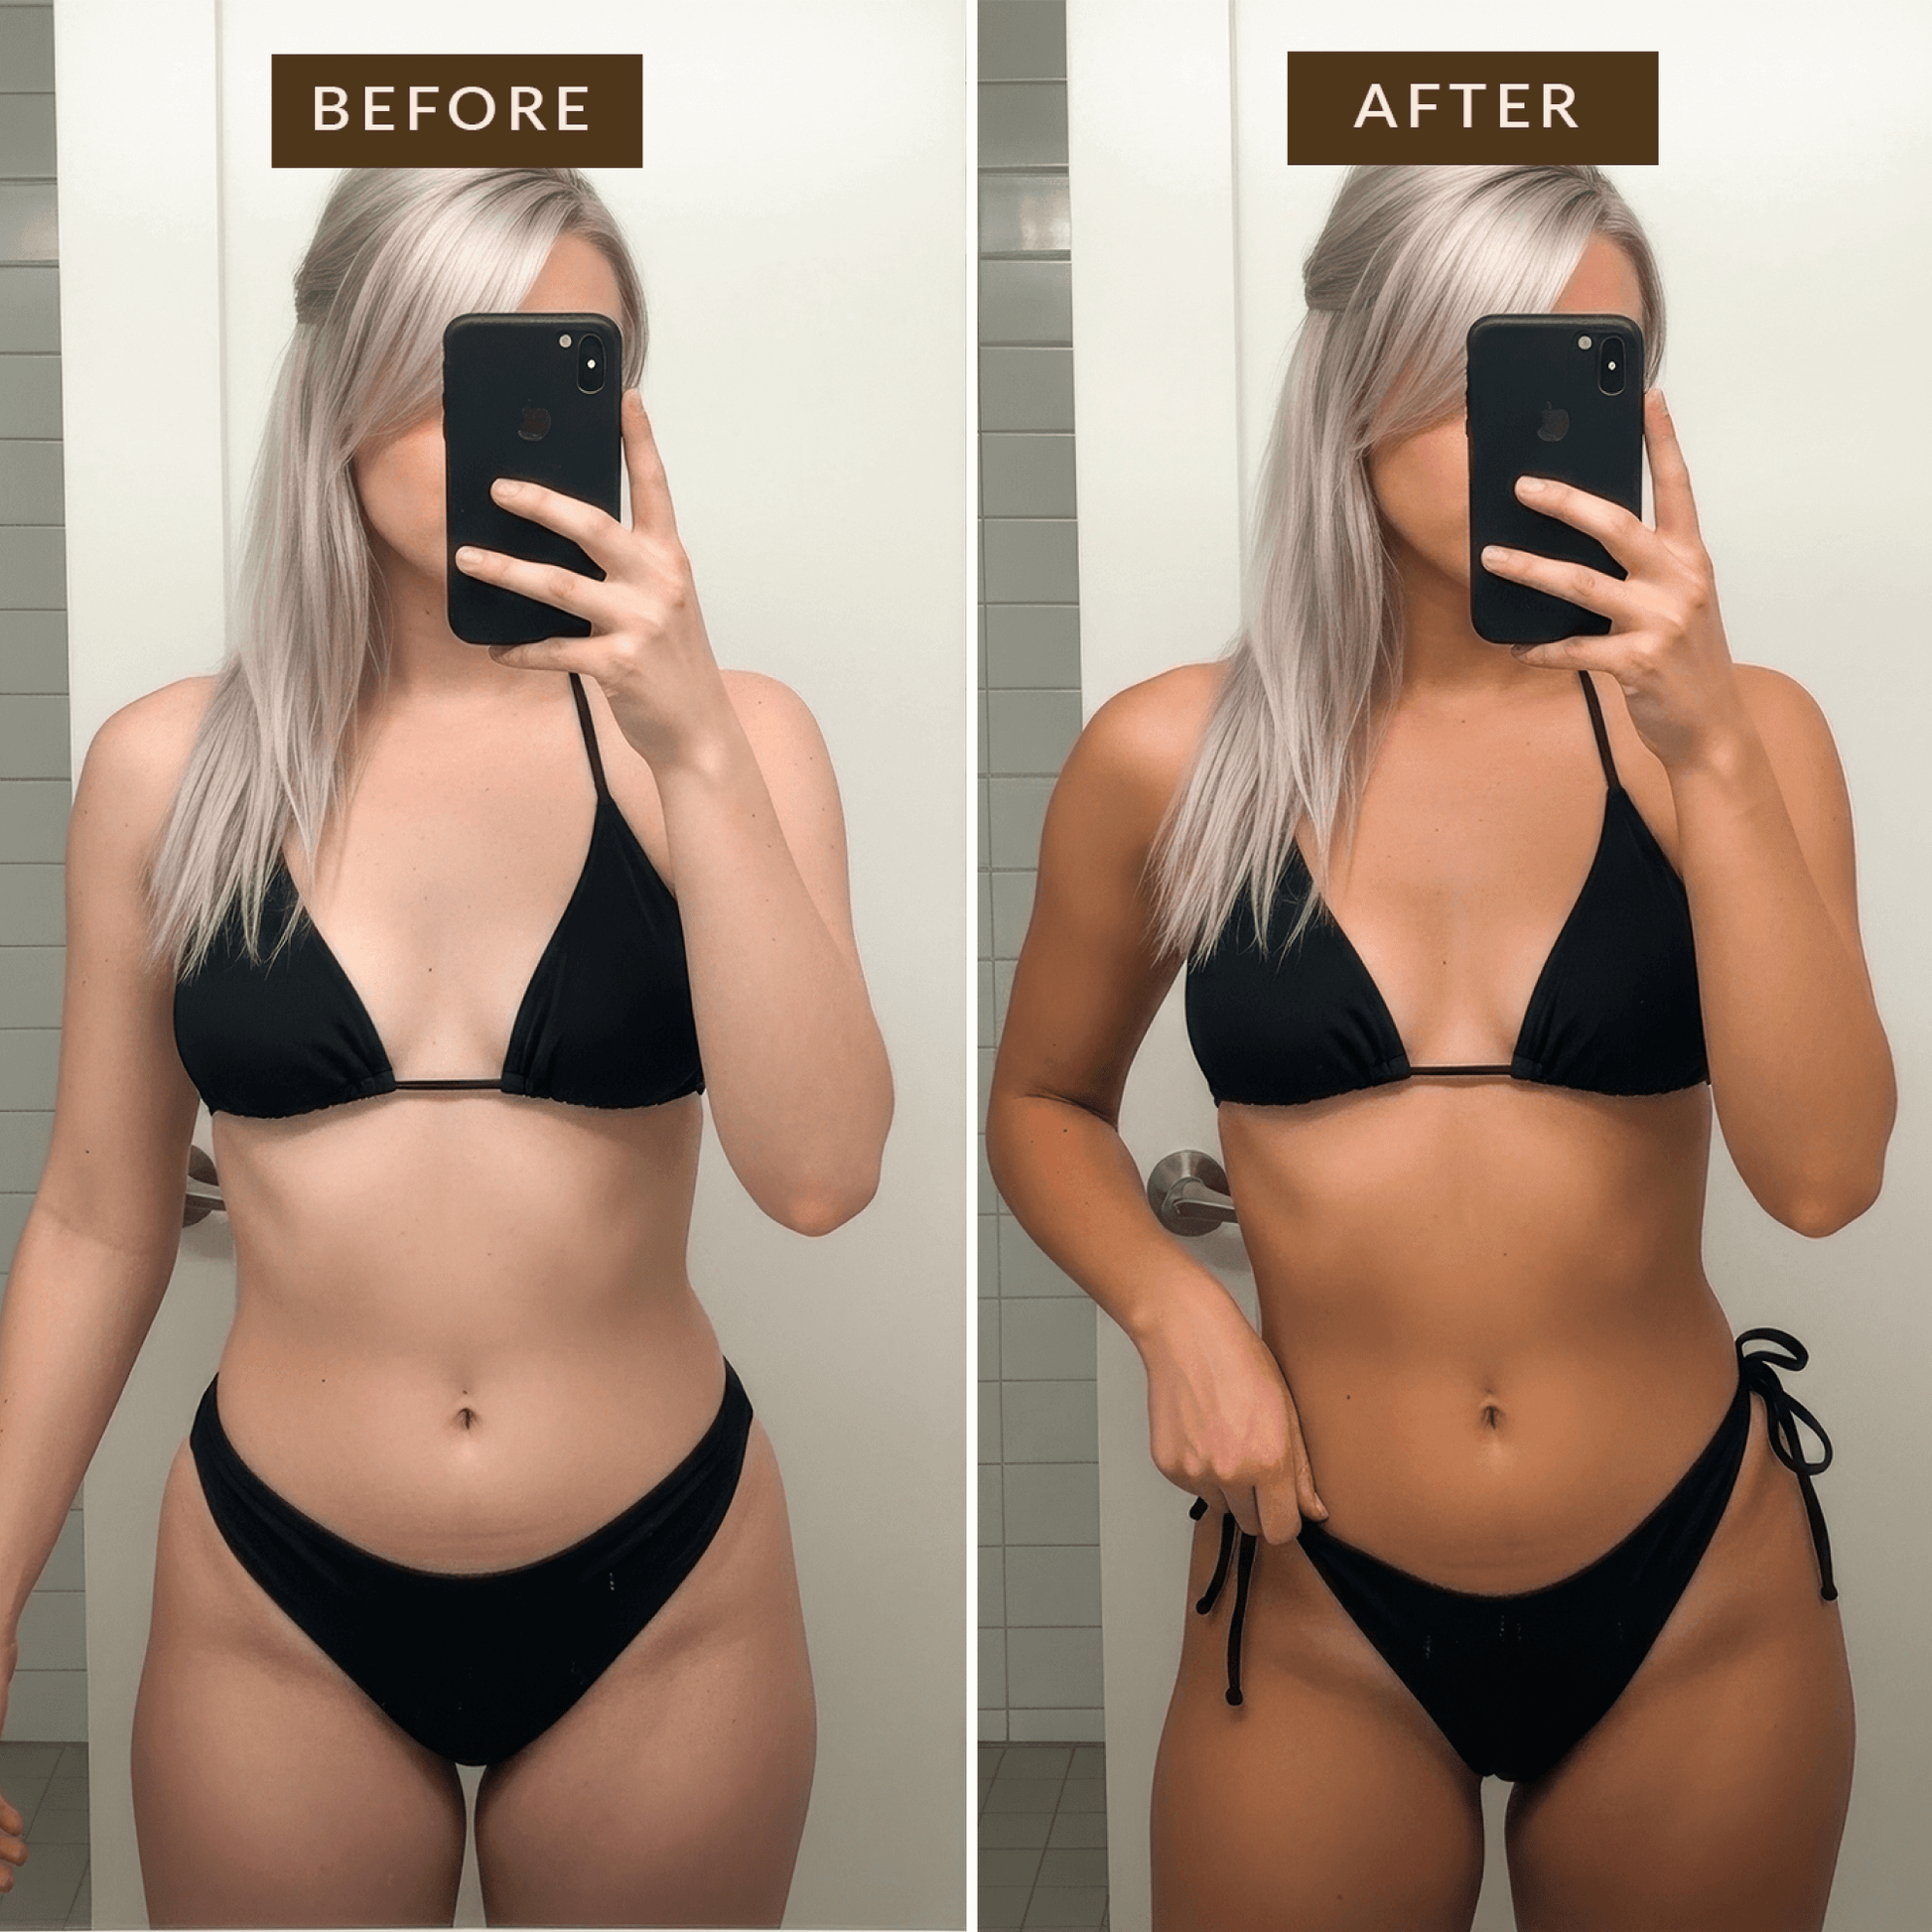
They used our Self Tanner Body Lotion for 30 days—at least once a week. The verdict? Glowing. The results speak for themselves.
93%
felt more confident in their own skin after using our self tanner.*
93%
experienced a significant improvement in their overall skin glow.*
86%
rated the texture of our lotion as excellent.*
100%
experienced no skin irritation or allergic reactions, confirming the product’s gentle formulation.*
92%
rated this self tanner as excellent compared to other tanners they’ve used in the past.*
*of those surveyed.
Naturally, the best tan you've ever had.

Flawless Glow

Potant Botanicals

Lasts for Days

100% Happiness Guarantee

Made in Small Batches in the USA
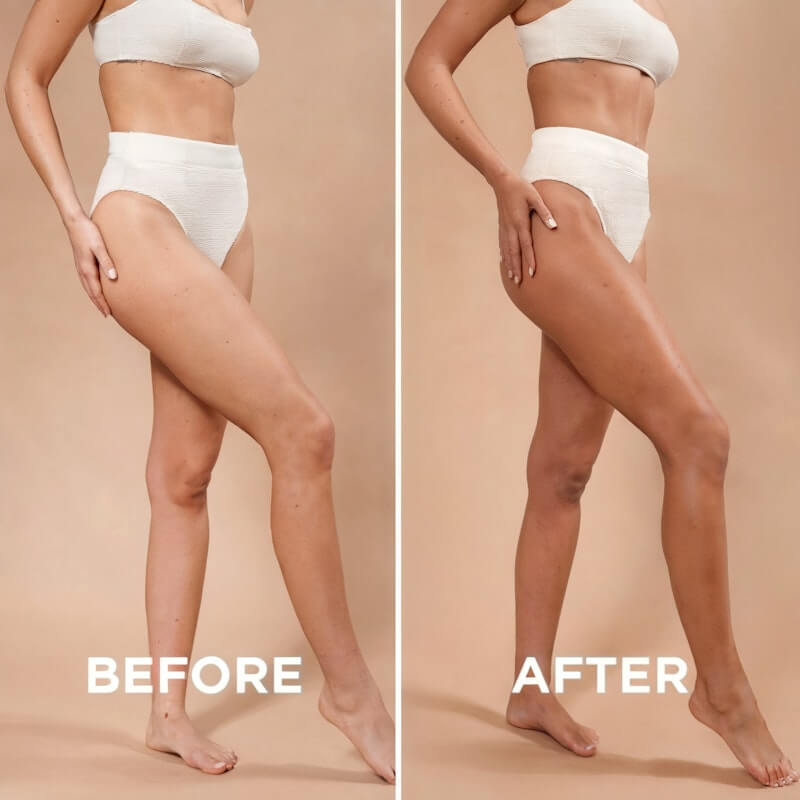
Glow On. Confidence On.
No streaks. No orange. Just your best skin, bronzed and beautiful. Enjoy ever second of tanning with our silky mousses, rich lotions, and light-weight sprays and drops. And best of all, no one will believe it's fake.
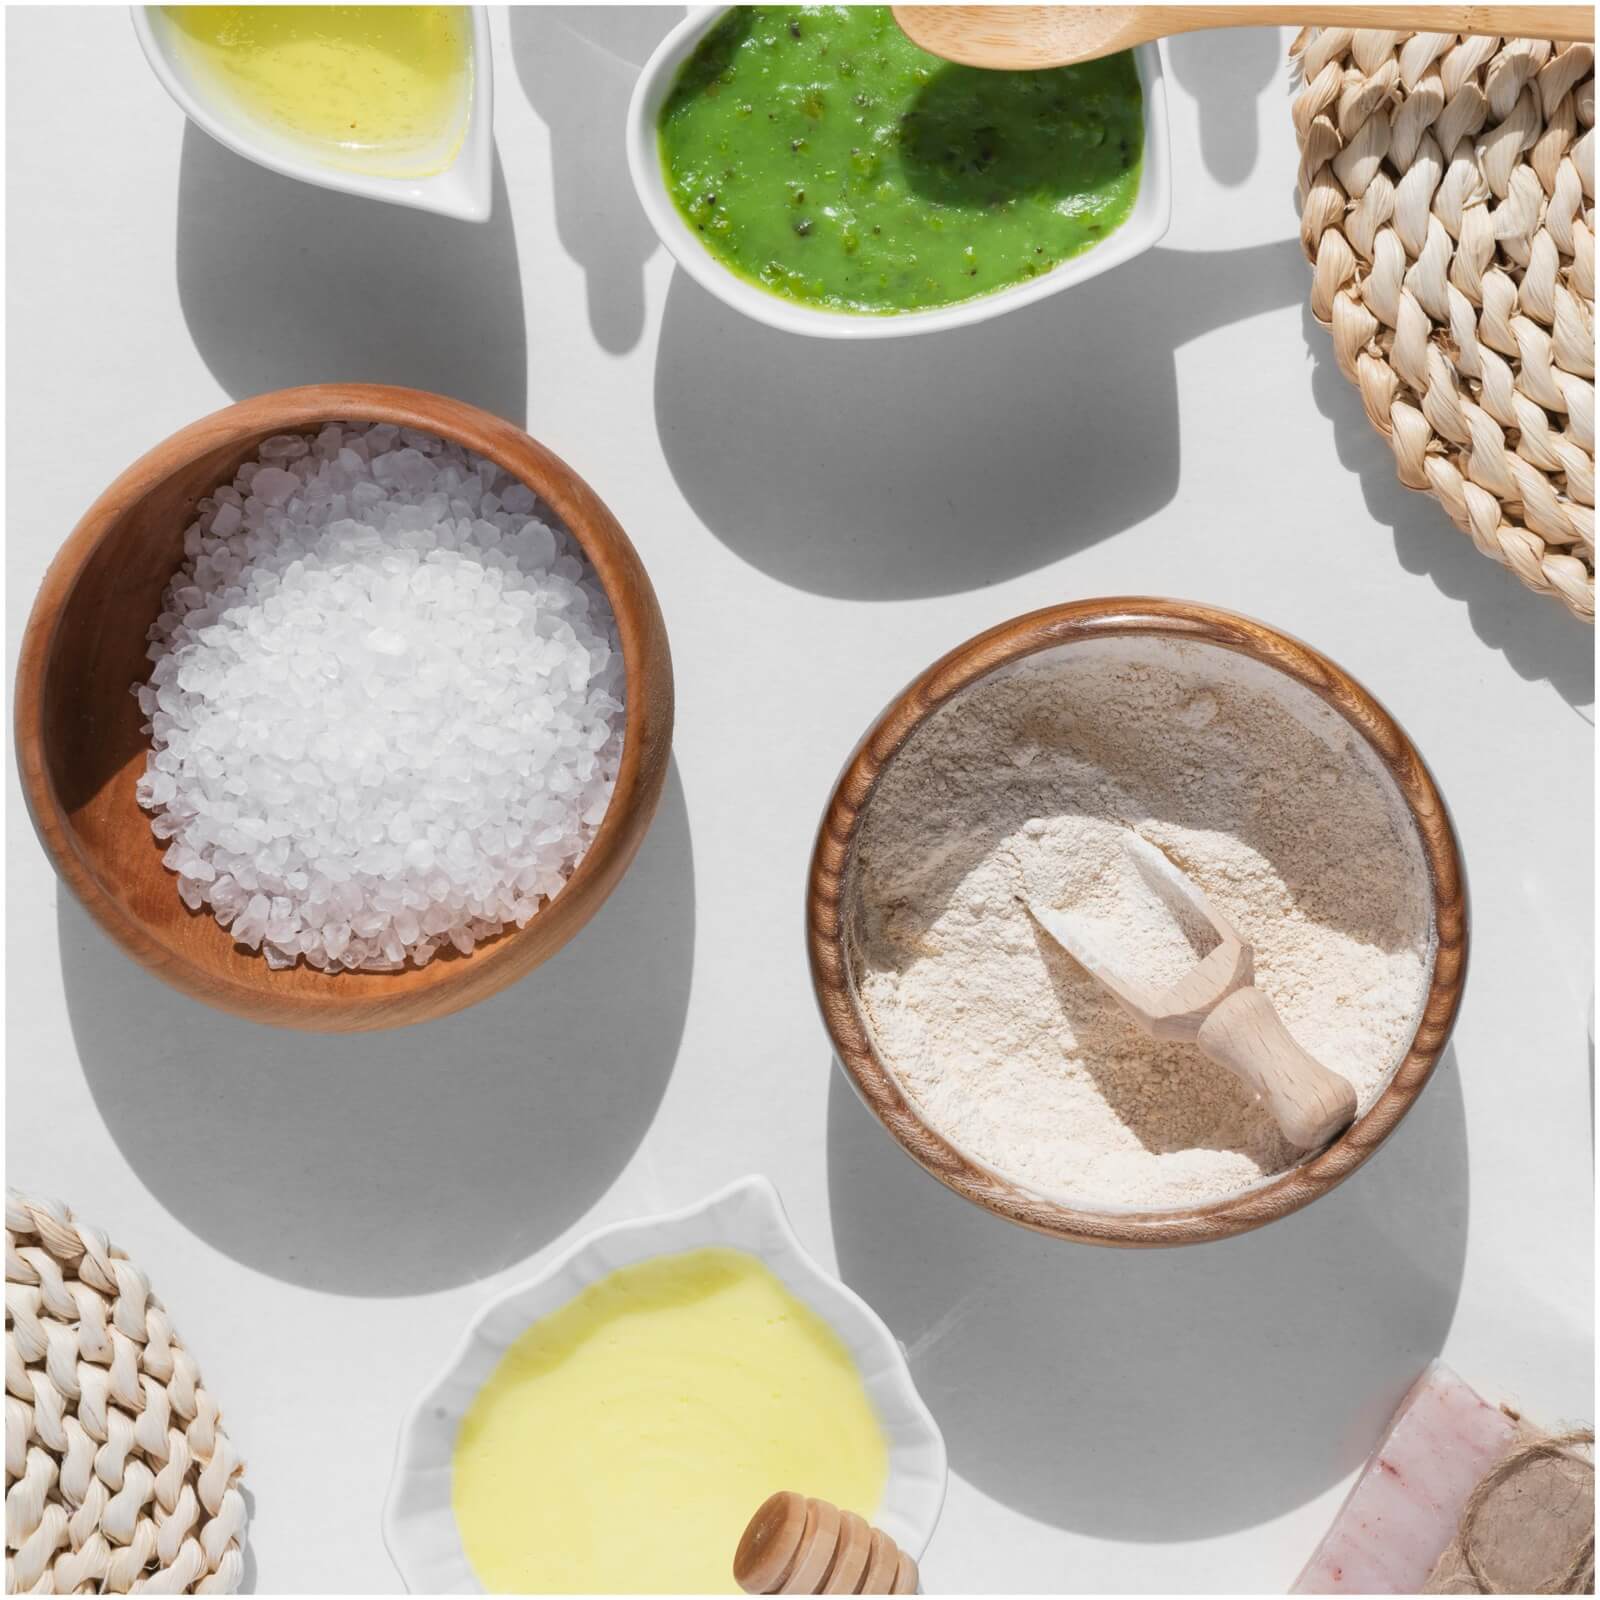
Potent Botanicals
Better-for-you ingredients with the best results. Every drop is infused with nature’s most powerful botanicals.
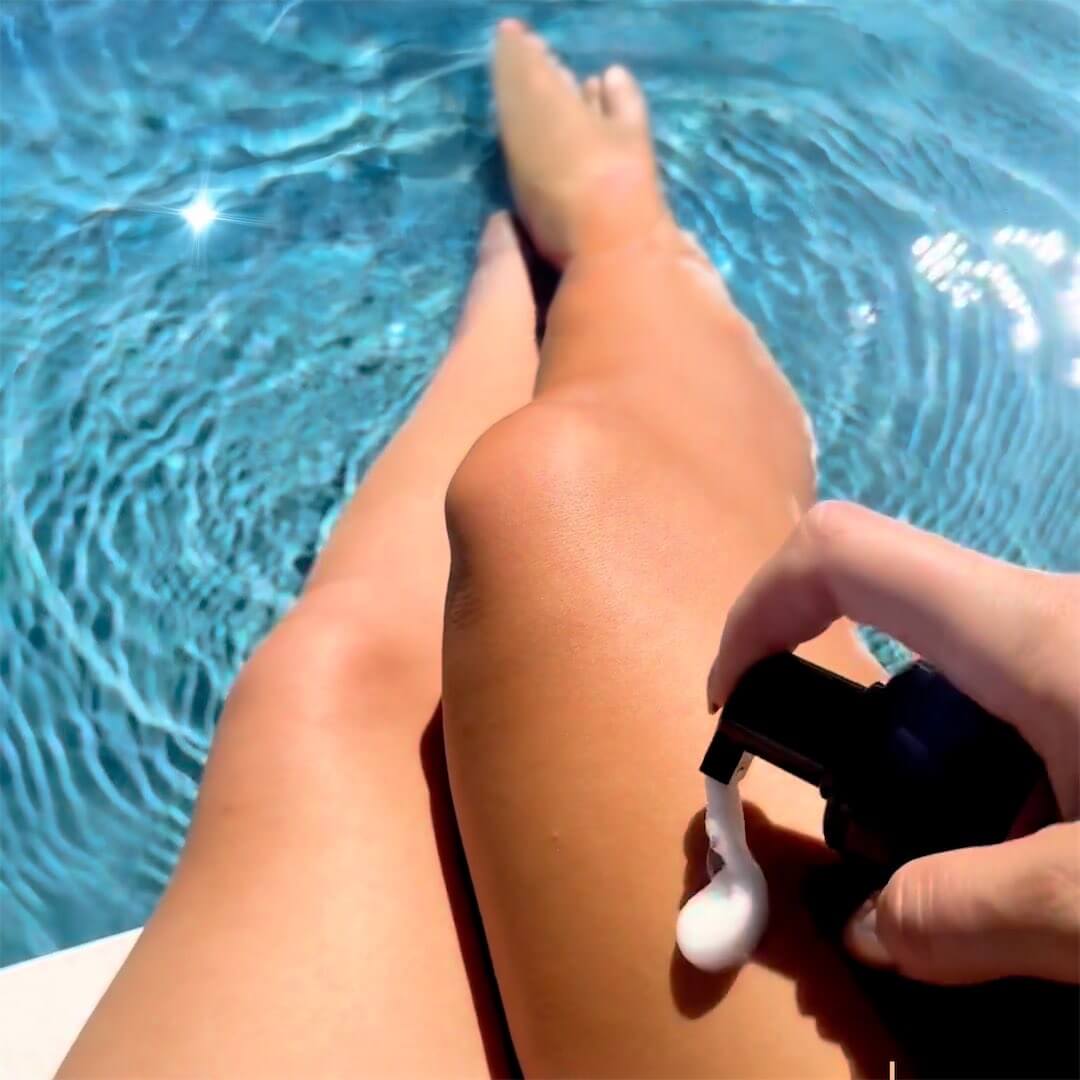
Made in Small Batches in the USA
Each batch of our tanners is crafted in small quantities right here in the USA. Every bottle is fresher and safer, with obsessive attention to detail.
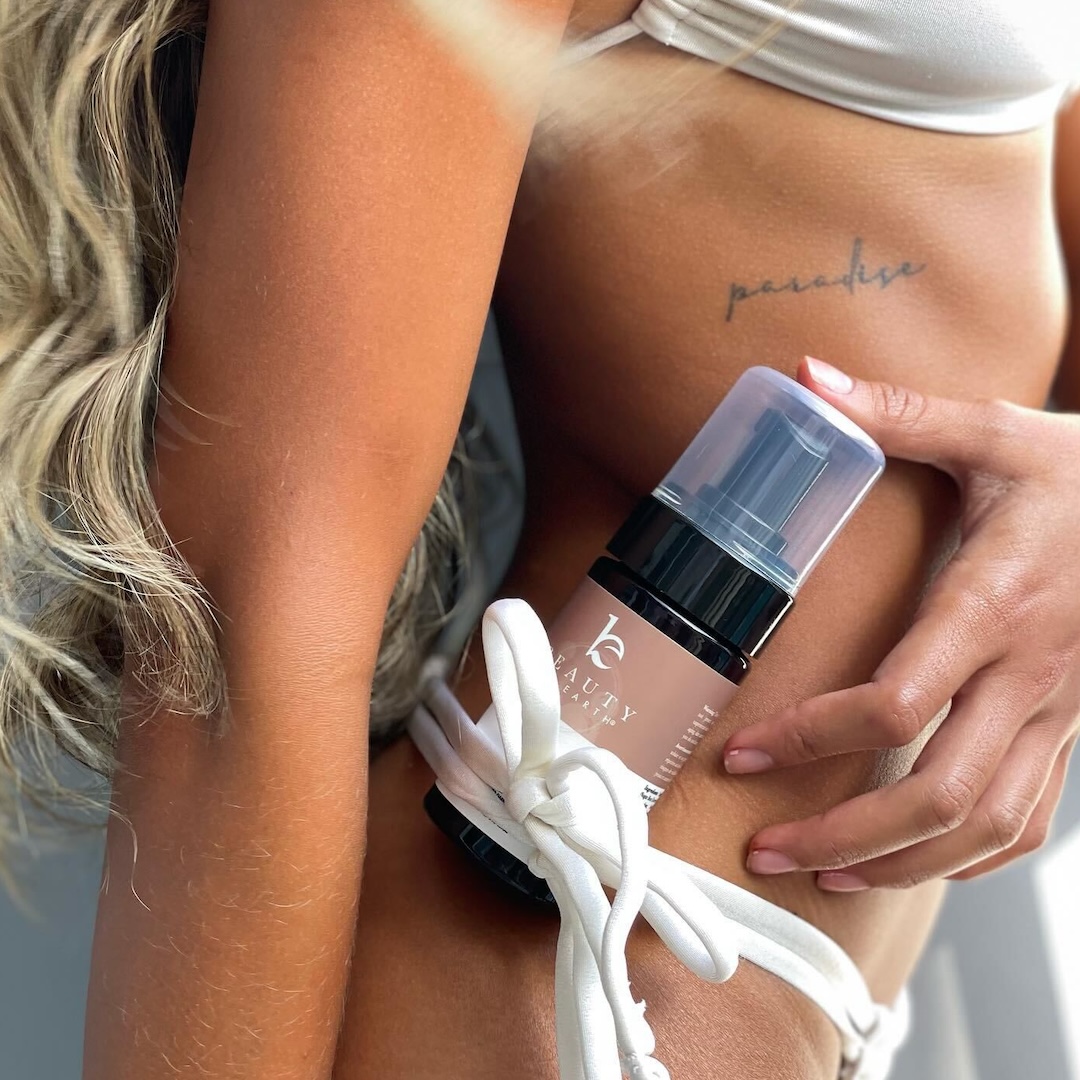
100% Money-Back Guarantee
We're so sure you'll love our self tanners, we give you 60-days to try it for a full money-back guarantee.
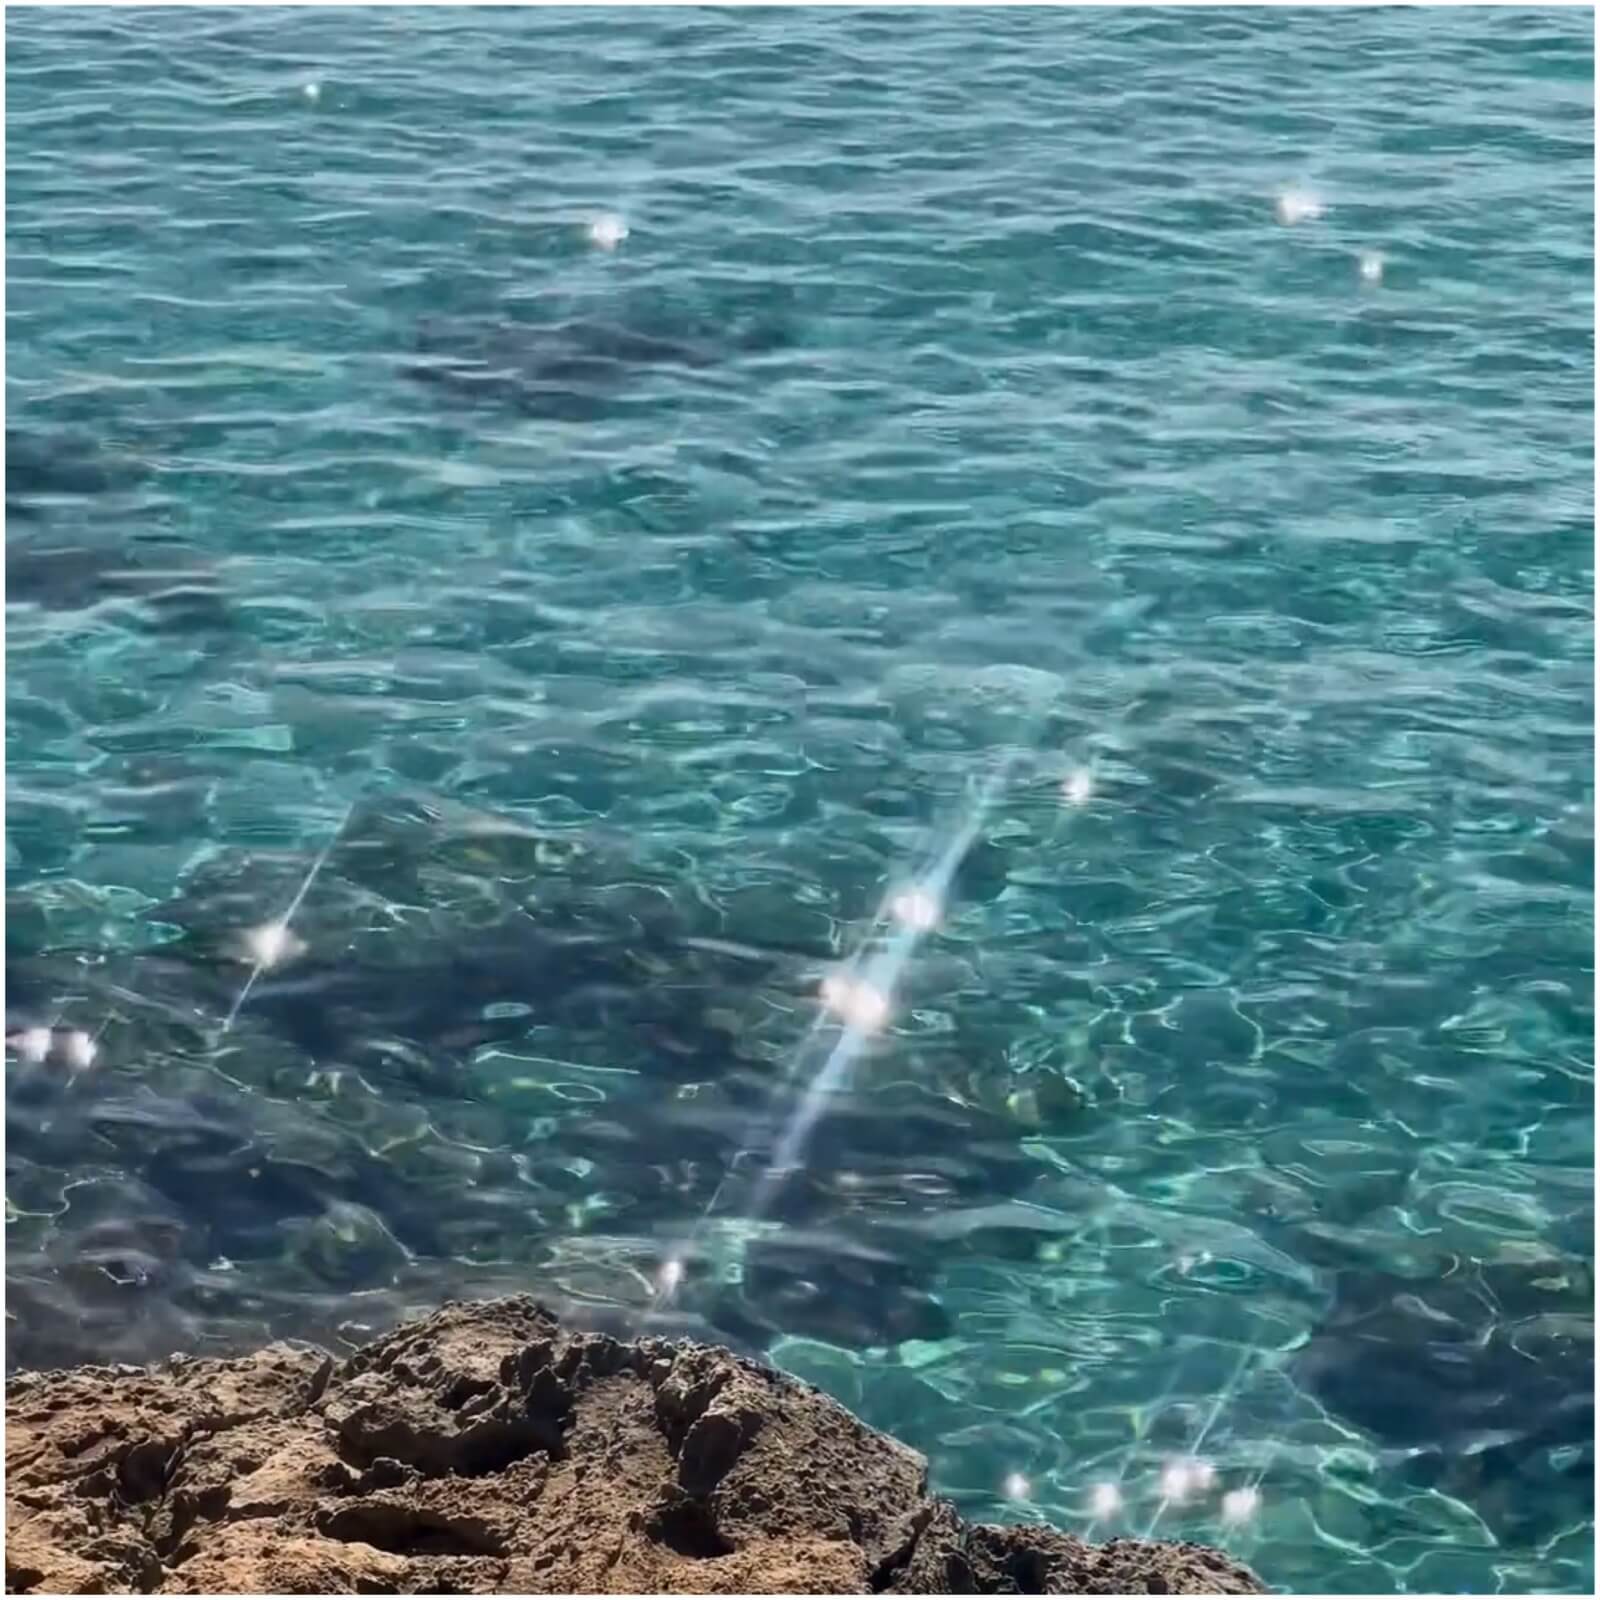
Better for you. Better for the planet.
Beauty by Earth is a certified plastic-neutral company. We're working to clean up plastics from the ocean. For every pound of plastic we produce, we clean up a pound of plastic from our oceans.

Thousands of Glowing Reviews
Join over 2 million customers who have purchased our self tanner. With over 45k 5-star reviews, we're sure you'll love them too.
Switch to a Better Tan
You'll be shocked how many people will think your tan is the real thing.

45k+ 5-Star Reviews

Fast Shipping from Carrollton, TX

Free & Easy Returns

Excellent Customer Service

Try it for 60 Days

