


Search Products
Shopping Cart
LIMITED TIME OFFER

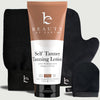
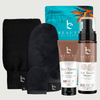
Self Tanner Kabuki Brush Set (DEAL)
$30.98$21.59

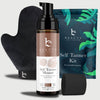
Clean & Clear Bundle (DEAL)
$48.98$31.89


 60-DAY Money back guarantee

Filter
Filter By:


Free Shipping over $65
Get free shipping on USA* orders over $65

60-Day Guarantee
We're so sure you'll love it, we give you a 60-day money-back guarantee.

Free & Easy Returns:
No hassle returns. We make it easy!
FAQ
Your Questions, Answered
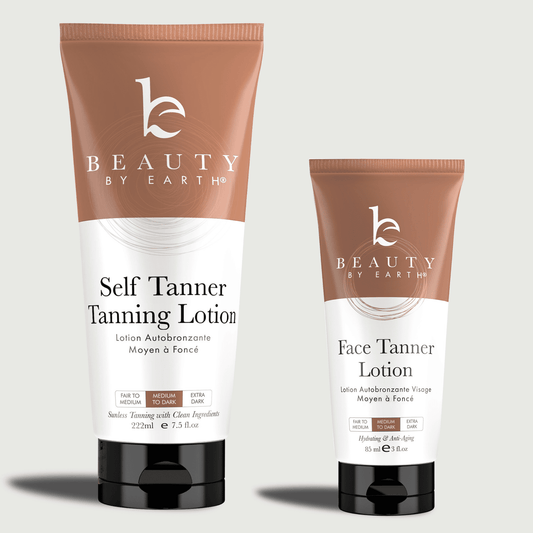
✨ How to easily choose the right formula for you by your skin tone's natural darkness.
1: Are you very fair? Burn easily? Choose our Light formula.
2: More yellow or caramel tones? Try our Medium formula.
Note: If you shopped with us before, Fair to Medium is now labeled Light and Medium to Dark is now labeled Medium.✨
The majority of our products are vegan with the exception of a few products that use boar hair or beeswax. We’re a certified cruelty-free company and are big animal lovers! If you have questions about how any of our products are developed, feel free to reach out at [email protected]
Buy One, Get One (BOGO) Offers—When you use BOGO coupons at our store, you will need to first add all of the desired products to the cart. Once you’ve added the products and the coupon code, the coupon will give you the 2nd matching and/or lowest price item(s) for free.
(Note, in order to get BOGO to multiply, you must add all desired items. Once all are added, within every pair or every other product, the item of equal of lowest price will be discounted at checkout.
Please note, all desired products MUST be added to the cart before applying the code. BOGO can only work in pairs, meaning if you have 4 products in your cart you will receive 2 free. If you have 5 items in your cart, you will only receive 2 free. Please be sure to add items in sets of 2. Must add a minimum of 2 items for the code to work.)
SHIPPING POLICY
ALL US* orders $65+ ship FREE!* We pride ourselves on fast, accurate delivery, and great service.
Need help? Give us a shout!
*Free shipping is restricted to the 48 continental states, excluding Hawaii, Alaska, and Puerto Rico.
We love freebies too!
1: Download our App and shop! We've always got freebies available on the app that unlock at various price points. On the app, you can CHOOSE which freebie you'd like if you've met the price threshold!
2: Checkout on our website and unlock cart freebies!
These change from time to time as does the price threshold to unlock them. PSST.. yes you can get more than one!
3: Subscribe to our Essentials Club! You'll get FREE, full-sized products on your 2nd and 4th renewals. PLUS, you'll unlock a bonus 200 beauty bucks in rewards (with $10 store credit) on your 5th renewal. Sounds good, amiright?
RETURNS POLICY
Love it or get your money back!If you’re not satisfied with your purchase you can return it within 30 days – HASSLE FREE and we will refund the original purchase price of the product. It’s really that simple.
HOW IT WORKS
1. Email [email protected] your return request with the following information:a. Contact information (name, phone number, email address)b. Place of Purchase (Website, Amazon, etc.)c. Order Numberd. Item Purchasede. Reason for Return
2. Beauty by Earth will email you a shipping label to return the item.
3. Mail your return, using the label provided, back to Beauty by Earth with the following included in the shipment:
a. Original Purchase Receipt
b. A Note Stating Reason for Return
Refunds are processed within 2 to 5 days and will be re-credited to the original method of payment.
Please note the following items are non-refundable:
-Original Shipping Charges and Shipping Protection Charges
-Gift Cards
-Beauty Bloopers
-Gifts, freebies, or samples.
We're delighted you're interested in collaborating with us!
As a small business, we don’t currently offer paid content campaigns, but would be happy to send gifted products in exchange for posts or videos. You can also sign up to be an affiliate with us and earn cash when you bring in sales!
If that sounds amenable to you, please sign up here.
Our Subscriptions are super simple!
1: Select a delivery period that fits your needs (every 30 days, 45 days, 60 days, or 90 days.)
2: Save 15% off of your subscription. Better still, get FREE SHIPPING* when you order $65 or more!
3: You can pause or cancel your subscription at any time. Just log in to your account and click on manage subscriptions.
*Free shipping only applies to orders of $65 or more sent within any of the contiguous states within the USA. Does not apply to Alaska, Hawaii, or Puerto Rico.